Heavy duty resin flooring: What happens during the installation?

Heavy duty resin flooring: What happens during the installation?
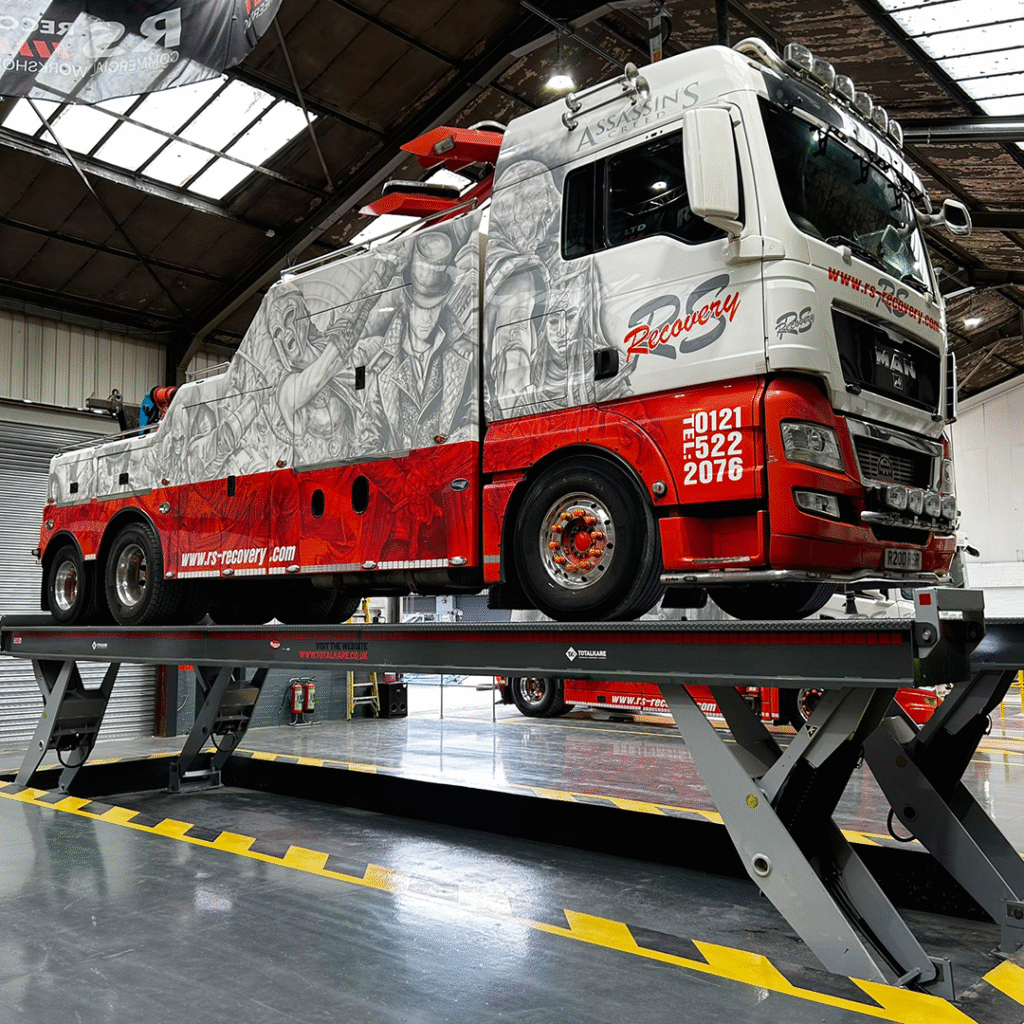
Most workshop upgrades are simple and quick: the equipment gets delivered, and you’re ready to go.
But some installations need preparation and time, with planning and groundworks that can disrupt your usual schedule.
So before you commit to installing heavy duty resin flooring, you need to know what’s involved — so you can plan and prepare with minimal disruption.
Here’s what you need to know about installing flooring in your workshop:
Heavy duty resin flooring: What’s the timeline?
| Process | Average time |
| Site survey | 1 day |
| Ground preparation | 1 day |
| Primer | 24 hours’ curing |
| Main layers | 24 hours for each layer |
| Finishing | 5–7 days before heavy equipment |
| Typical total installation | 14 days |
1. Site survey
Before the installation begins, any good supplier will visit your site and conduct a survey. As well as assessing the scope of the job, they should also be looking at:
- The integrity of the concrete substrate — checking for cracks and stains
- The level and smoothness of the floor — to see what adjustments they might need
- The traffic and usage of the area (especially with heavy duty vehicle lifts)
- Zoning and safety issues — will you need special markings?
- Moisture and drainage — especially if the flooring is close to a wash bay.
2. Ground preparation
The next step is to make adjustments to the area that needs the heavy duty flooring. This is an important stage in the preparation, and helps to make sure the final product is even, well-adhered, and can last for years like it should.
That usually means:
- Repairing any cracks or damage
- Thoroughly cleaning any dirt, oil, or stains
- Grinding or blasting to create the right texture for the resin to bond.
3. Applying a primer
Before the first main layer of heavy duty resin flooring, your supplier should start with a layer of primer. This initial layer penetrates into the surface of the concrete, creating a strong bond and acting as an ‘anchor’ layer between the concrete and the main layers of resin.
This layer of primer is then given time to cure before the main layers of resin begin.
but not all floors require a primer usually if the floor has
1.Oil contaminated floors will require OT Primer Oil tolerant Primer
2.Floor requires a liquid DPM
3.Really rough concrete requiring a primer scratch coat
4. Layering the heavy duty resin flooring
When the initial layer of primer has cured, the main layers of resin flooring can begin. These are usually spread with paint-style rollers for an even finish, and applied in separate layers with curing time in between.
Most industrial resins take at least 24 hours for curing — which means that several layers can add days to the entire installation process.

5. Finishing
Once the last coat of resin is in place, it’s time for the final steps. This usually involves:
- Applying an anti-slip substance to the wet top layer (like fine grit)
- Allowing a longer final curing time.
In most cases, you’re looking at 48 hours of final curing before the flooring is ready for foot traffic — or 5–7 days before it’s ready for heavy equipment and vehicles.
Looking for a refit?
We’re well-known for the equipment we supply.
But we’re also experienced installers of complete workshop kit-outs — including the heavy duty flooring your workshop needs for its lifting areas.
So if you’re looking for a new MOT bay or an upgrade to your lifting area, we can help with the entire process, including:
- Site surveys
- Full resin coverage
- Line markings
- Safety chevrons
You can see our Class 7 MOT bay package in our online shop — or start a chat with a workshop expert to talk about what you need.